If you are a glass blower, mastering the art of cooling your glass pieces properly is essential. The cooling phase can often make or break your final artwork, as improper cooling leads to cracks and breakage.
Fortunately, refining cooling techniques is possible through consistent, simple daily habits focusing on controlling temperature changes and managing stress within your glass pieces. These habits help you create flawless, durable glass works.
By adopting the daily habits shared here, you will gain better control over the cooling process, increasing your success and satisfaction with each project.
Your 3 Daily Habits To Refine Cooling Techniques For Glass Blowers
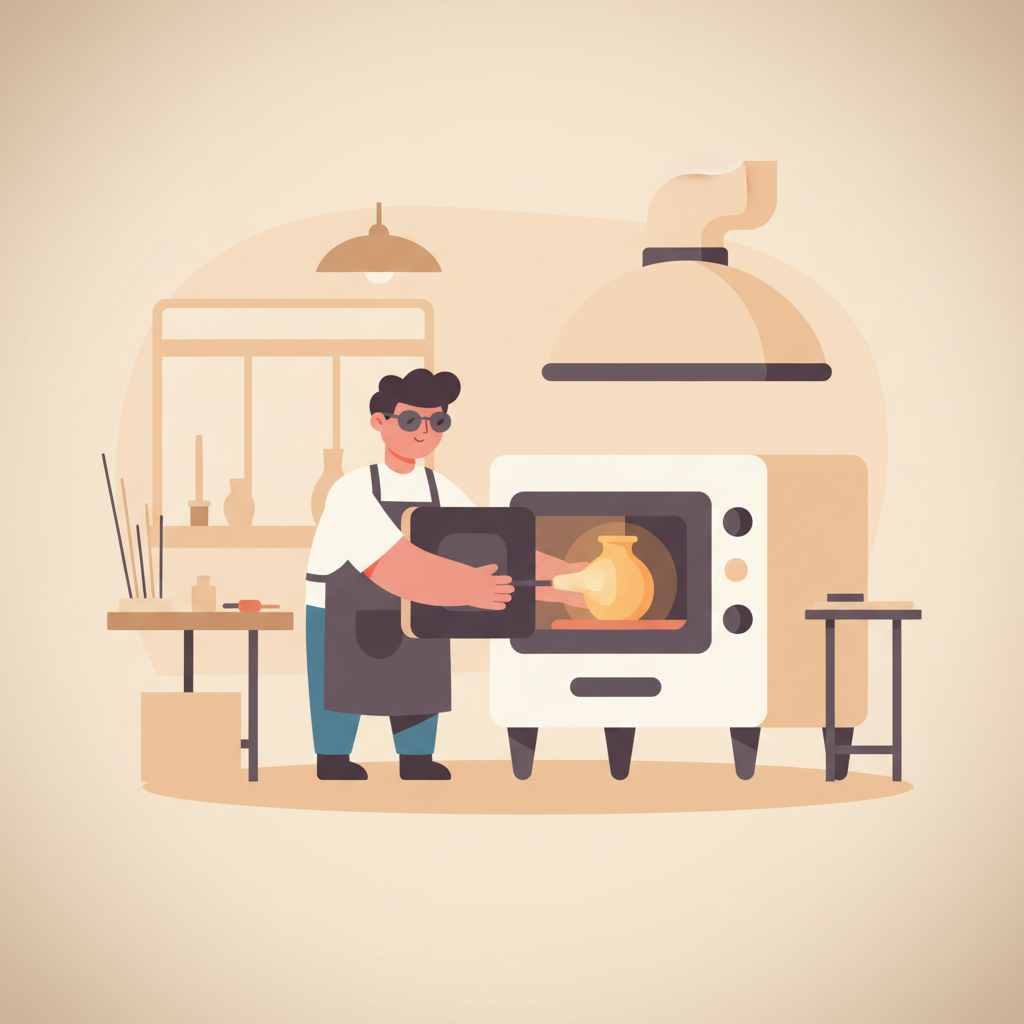
Habit 1 — Use Annealing Schedules Consistently
Why: Cooling techniques for glass blowers depend heavily on the annealing process, which reduces stress and prevents cracking.
How: Every day, follow a proper annealing schedule by setting your kiln to the correct temperature range for your glass type. Soak the glass at the annealing temperature long enough based on thickness, then cool slowly at a controlled rate.
Cue: As soon as you finish shaping a piece, immediately place it in the annealing kiln to start the scheduled cycle.
Habit 2 — Maintain Even Wall Thickness
Why: Uneven thickness causes temperature imbalances that create internal stresses during cooling.
How: Practice shaping your pieces daily to keep walls as even as possible and gently blend attachments like handles or spouts.
Cue: During your shaping routine, remind yourself to check thickness frequently using calipers or visual inspection.
Habit 3 — Reheat and Rotate During Shaping
Why: Constant reheating and rotation keeps temperature uniform, minimizing thermal gradients that can cause cracks.
How: Integrate reheating your glass in the glory hole and rotating it evenly into your workflow. Use the marver often to keep temperature balanced.
Cue: Set a timer or reminder to reheat glass every few minutes or each time you stop shaping.
Week 1 Schedule
| Day | Focus | Action |
|---|---|---|
| Monday | Annealing Practice | Run kiln annealing cycles following a detailed schedule for small sample pieces. |
| Tuesday | Even Thickness Shaping | Create simple hollow forms focusing on uniform wall thickness. |
| Wednesday | Reheating & Rotation | Practice reheating and rotating glass frequently during shaping to maintain temperature. |
| Thursday | Combined Practice | Blow a small piece using even thickness and reheating habits, then anneal properly. |
| Friday | Review & Adjust | Inspect cooled pieces for cracks and adjust your annealing or shaping techniques as needed. |
| Saturday | Extended Annealing | Practice annealing thicker or complex pieces with longer soak and slow cool times. |
| Sunday | Rest & Study | Review resources about thermal stress and watch video demos on proper glass cooling. |
Troubleshooting
Barrier: Glass cracks appearing suddenly after cooling.
Fix: Check if annealing schedules match glass thickness; increase soak time or slow down cooling rate for your focus_keyword.
Barrier: Uneven wall thickness causing weak spots.
Fix: Practice measuring wall thickness daily and adjust shaping techniques to ensure uniformity in your glass pieces.
Barrier: Glass cooling too rapidly after removal from kiln.
Fix: Avoid exposing hot glass to drafts or cold surfaces; allow gradual cool down and handle pieces with care during the final cooling phase.
FAQs
Q: How long should I soak my glass at the annealing temperature?
A: Soak time depends on thickness; a general rule is 10-30 minutes per quarter inch thickness. Refer to glass type specific schedules for accurate timing to perfect your cooling techniques for glass blowers.
Q: Can I speed up the cooling process to save time?
A: It is not recommended as fast cooling can cause cracking. Slow, controlled cooling is essential for stress relief and durability in your glass work.
Q: How do I know if my glass has internal stresses?
A: Use a polarized light viewer or inspect for hairline cracks to check stress. Regular use of proper cooling techniques will minimize these issues.
Tracking & Motivation Tips
Track your progress by noting the kiln schedules you use, the thickness of each piece, and the outcomes after cooling. Keep a log to identify what works best for your glass type and style. Celebrate when pieces come out crack-free and observe patterns in what causes issues to improve your cooling techniques for glass blowers.
Key Takeaways About Cooling Techniques For Glass Blowers
Mastering cooling techniques for glass blowers means practicing consistent annealing, maintaining even wall thickness, and reheating and rotating glass regularly. These daily habits build your skill and help prevent cracking by managing internal stresses and temperature gradients effectively. With patience and persistence, your glass art can shine flawlessly every time you cool your pieces right.
Join the Waitlist
Ready to put these habits into action? Dayspire helps you reach any goal with simple daily habits. Join the waitlist now to be the first to get invited to Dayspire!